Snow, Ice, and Wind: Residential Roofing Decisions That Hold Up in the Northeast

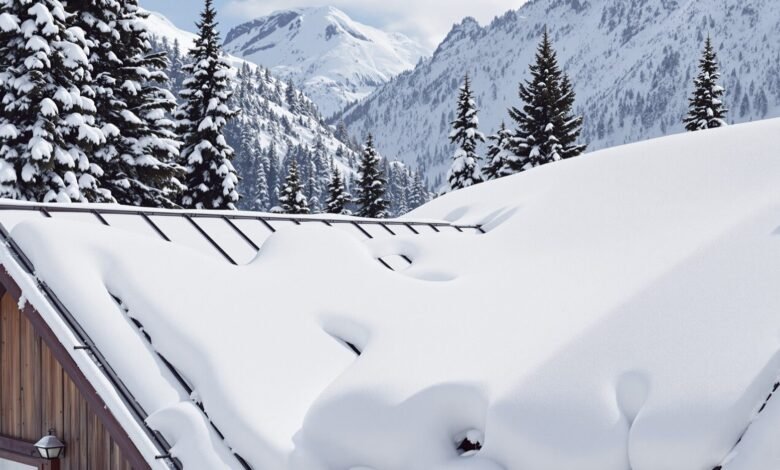
Winter in the Northeast tests a home’s roof with heavy snow, sudden thaws, gusty storms, and persistent ice. Those conditions expose weak underlayment, poor ventilation, and sloppy flashing faster than anywhere else. The good news is that homeowners can make a handful of specific decisions that dramatically improve how a roof handles the season. Focusing on climate-driven choices about materials, ventilation, waterproofing, and details around penetrations will keep water outside, air moving, and shingles secure. This article explains what to prioritize so your next roof stands up to snow loads, nor’easters, and freezing and thawing cycles without constant patching or midwinter surprises.
- Start With the Climate Constraints You Can’t Change
Every roof has fixed realities: pitch, orientation, shading, and the way snow drifts in valleys and against dormers. North-facing slopes stay colder, holding snow longer and allowing ice to build at the eaves. Long rafter runs feed meltwater into low, shaded sections where it can refreeze. Repeated freezing and thawing cycles loosen granules on asphalt shingles, making them age faster; high winds can lift tabs at rakes and ridges if starter strips and nail patterns aren’t correct. Identifying these constraints helps you plan where to strengthen protection, such as in valleys, along rake edges, and at eaves.
Before collecting estimates, it helps to learn the terms you’ll see on proposals and material sheets. A guide from a roofing contractor in Albany homeowners might consult will explain how pieces like ice and water shield, drip edge, ridge vents, and step flashing fit together. Understanding those basics makes conversations with any local professional more productive and helps you compare solutions rather than just prices.
- Choosing Materials That Match Snow and Wind
Architectural asphalt shingles are common for roofs with steep slopes and handle Northeast weather well when installed with a nailing pattern designed for high winds, a proper starter course, and sealed edges at rakes. The adhesive strip on shingles needs warmth to bond; in cold weather, hand sealing with roofing cement at critical areas helps. For homes that see consistent snow slides, standing seam metal sheds snow quickly and resists ice creep, though it often benefits from snow guards above walkways and entry doors. Under metal, a synthetic underlayment and slip sheet manage condensation and temperature swings better than old felt.
There are trade-offs. Dark shingles help warm a roof surface and may encourage faster snow melt, but they can raise attic temperatures in summer without good ventilation. Metal roofing typically lasts longer than asphalt but comes with a higher upfront cost and requires careful detailing around chimneys and skylights. Sections with low slopes, such as porches or shed dormers, are prone to ponding and may call for a modified bitumen membrane or a roofing system specifically approved for the slope. Matching material to pitch and exposure, then reinforcing vulnerable zones, is more reliable than choosing by appearance alone.
- Ice Dam Control: Ventilation, Insulation, and Waterproofing Working Together
Ice dams happen when a warm attic melts snow on the upper roof, and the runoff refreezes at cold eaves. Balanced ventilation interrupts that cycle. Continuous soffit intake paired with a ridge vent creates a chimney effect that flushes moist air while keeping the roof deck uniformly cold. Rafter baffles maintain a clear air channel from soffit to ridge, and correctly placed insulation stops heat from leaking into the attic. Sealing bypasses around recessed lights, bath fans, and attic hatches with foam or gaskets is just as important as blowing in more insulation; both steps reduce meltwater that feeds dams.
Even with good airflow, waterproofing is the last defense. Self-adhered ice and water shield at eaves, valleys, and around penetrations blocks rain driven by wind and water that backs up beneath shingles. In cold regions, installers commonly extend this membrane at least 24 inches inside the exterior wall line at the eaves; always follow local code and manufacturer guidance. Layer the system correctly: eave drip edge first, then membrane, then synthetic underlayment; at rakes, the metal typically goes over the underlayment. If ice builds up after a blizzard, use a roof rake from the ground to relieve the first few feet above gutters rather than hacking at ice, which can damage shingles and flashing.
- Flashing and Penetrations: The Small Details That Prevent Big Leaks
Most winter leaks trace back to weak points, not shingle fields. Along sidewalls, step flashing must interleave with each course of shingles, and counterflashing should tuck into the siding or masonry, not just caulk to the surface. Chimneys wider than 30 inches benefit from a saddle (cricket) to split runoff. Pipe boots need snug neoprene or silicone collars, and skylights should use manufacturer-specific curb and apron kits. In valleys, W-shaped valley metal or properly installed closed-cut valley channels meltwater even when snow piles up. A common mistake is reusing old flashing to save time; it rarely seals correctly and tends to fail during the first heavy thaw.
Two real-world examples show how details matter. On a colonial tucked among tall pines, a long north-facing slope fed repeated ice dams. An inspection found bath fan ducts venting into the soffit, frosting the roof deck. Rerouting the fans through roof caps, adding baffles at every bay, and extending ice and water shield further up the eaves ended the leaks. On a ranch with a porch addition featuring a low slope, water showed up at the connection between roof sections each March. The fix was a wide transition flashing beneath shingles, an adhesive waterproof membrane bridging the planes, and a small diverter to steer runoff away from the joint.
Timing, Crew Access, and Aftercare in a Snowy Region
Late spring and early fall provide favorable combinations of temperatures and dry weather for roof replacement, helping shingle seal strips set quickly. Winter installations are feasible when crews seal edges by hand according to manufacturer instructions, keep bundles warm before use, and avoid bending brittle materials. Plan for access: designate a driveway location for the dumpster, cover garden beds with breathable tarps, and ask for a magnetic nail sweep when the work wraps. If gutters are due for replacement or guards, coordinating that work with the roof avoids disturbing new drip edges. Trimming overhanging branches reduces abrasion and sheds less debris into valleys and downspouts.
After installation, do a quick attic check during the first heavy storm. Look for drips at the chimney, damp insulation below skylights, and frost on sheathing near the eaves. Keep gutters and downspouts clear, so meltwater exits instead of backing up under the starter course. Every couple of years, inspect rubber pipe boots and exposed sealant around flashings and replace them before they crack. On metal roofs, confirm snow guards protect walkways and garage doors from unexpected slides. A few small maintenance habits will help the system you chose continue to resist snow, ice, and wind for many seasons.
In a region defined by storms and temperature swings, the most durable residential roofs are planned around the climate first and the color chart second. Choose materials that suit your roof’s pitch and exposure, insist on continuous ventilation from soffit to ridge where appropriate for the roof design, specify ice and water shield where winter concentrates water, and treat flashing as a system rather than a line item. Those decisions, paired with smart timing and basic aftercare, will carry homes across the Capital Region and into Saratoga County through long winters without the annual scramble for buckets and salt. Thoughtful details today prevent headaches during the thawing season tomorrow.